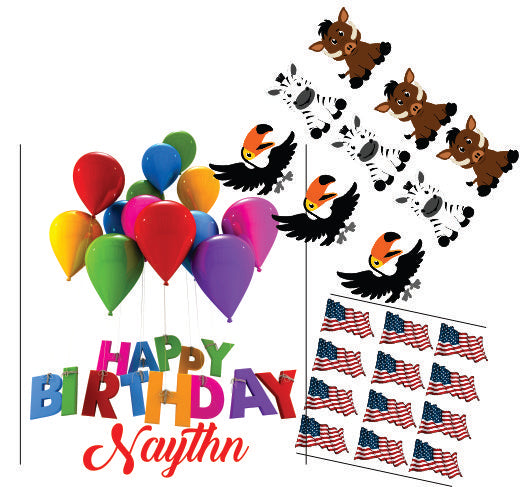
For those with specific design needs, Direct-to-Film (DTF) custom transfers offer a perfect solution. This method allows you to create and buy custom transfers that meet your unique requirements, ensuring your designs are both original and high-quality. Here's a guide on how to create and utilize custom DTF transfers for your unique projects.
Understanding DTF Custom Transfers
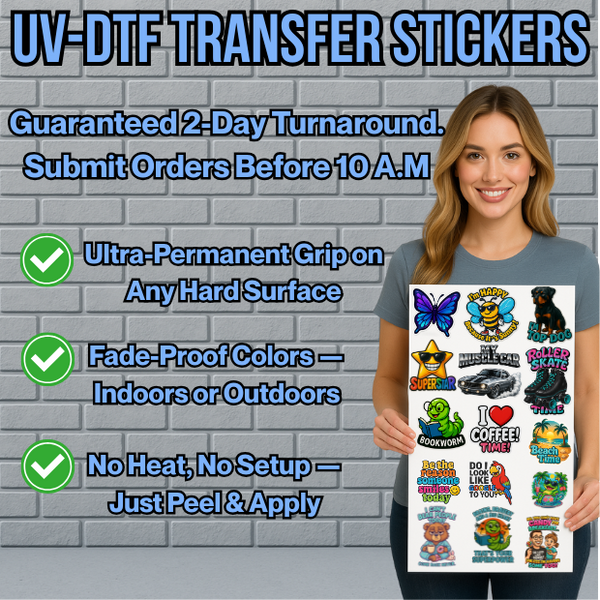
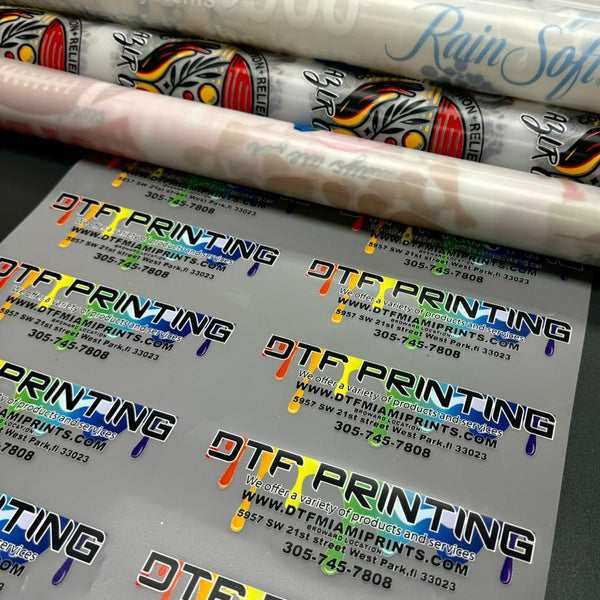
- DTF custom transfers are pre-printed designs on PET films.
- These designs can be transferred to various fabrics using a heat press.
- DTF transfers allow for personalized and unique designs tailored to individual projects.
Creating Custom DTF Transfers
-
Designing Your Artwork:
- Use graphic design software to create your design.
- Ensure the design is high resolution (300 DPI) for the best print quality.
- Include a white underbase in your design to enhance color vibrancy, especially on dark fabrics.
-
Selecting a DTF Printing Service:
- Choose a reputable DTF printing service that offers custom transfer printing.
- Check reviews and samples of their work to ensure quality.
- Provide your design files in the required format (usually PNG or PDF).
- Specify any special instructions for printing.
Ordering Custom Transfers
- Submit your order by filling out the order form provided by the printing service, including details such as size, quantity, and any specific requirements.
- Review the proof sent by the printing service before finalizing the order to ensure accuracy.
- Upon receiving your custom transfers, inspect them for any defects or errors. High-quality transfers should have crisp, clear images with no smudging or blurring.
Applying Custom DTF Transfers
- Temperature: Set the heat press to 300-320°F (150-160°C).
- Pressure: Adjust the pressure to medium.
- Time: Set the timer to 10 seconds for the initial press. After peeling the film, press again for an additional 5 seconds.
Step-by-Step Process
- Prepare the Fabric: Ensure the fabric is clean and wrinkle-free. Lay it flat on the heat press to avoid any issues during transfer.
- Place the Transfer: Position the custom DTF transfer on the fabric.
- Cover the Transfer: Place a protective sheet over the transfer to safeguard it during pressing.
- Initial Press: Press the transfer at 300-320°F (150-160°C) with medium pressure for 10 seconds.
- Peel the Film: Immediately, while the transfer is still hot, peel the film off to reveal the design.
- Second Press: Conduct a final press for an additional 5 seconds to ensure the transfer is fully adhered and to enhance durability.
Tips for Using Custom DTF Transfers
- Choose the Right Fabric: DTF transfers work best on cotton, polyester, and blends. Testing on a sample fabric first is always a good idea.
- Pre-Press the Fabric: Pre-pressing the fabric for a few seconds before applying the transfer can remove moisture and wrinkles, ensuring a smooth application.
- Store Transfers Properly: Keep unused transfers in a cool, dry place to maintain their quality. Exposure to heat and humidity can affect their performance.
- Use High-Quality Materials: High-quality inks and films are crucial for achieving the best results. Make sure your printing service uses the best materials available.
- Custom DTF Printing Near Me: If you're looking for custom DTF printing near me, find local services to save on shipping and get faster turnaround times.
Benefits of Custom DTF Transfers
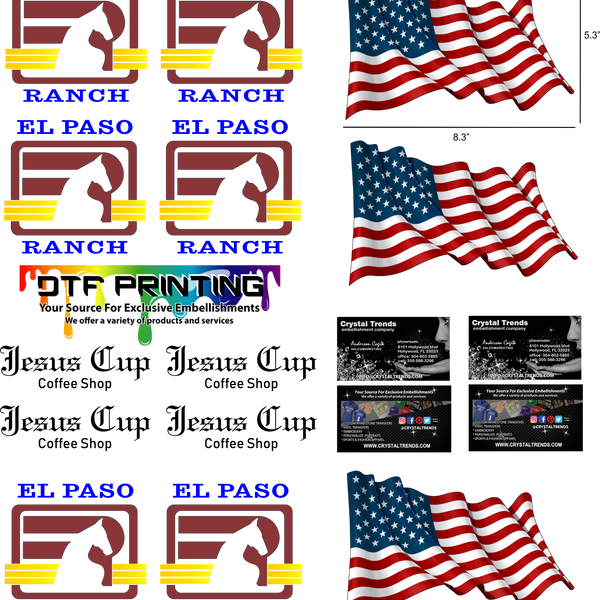
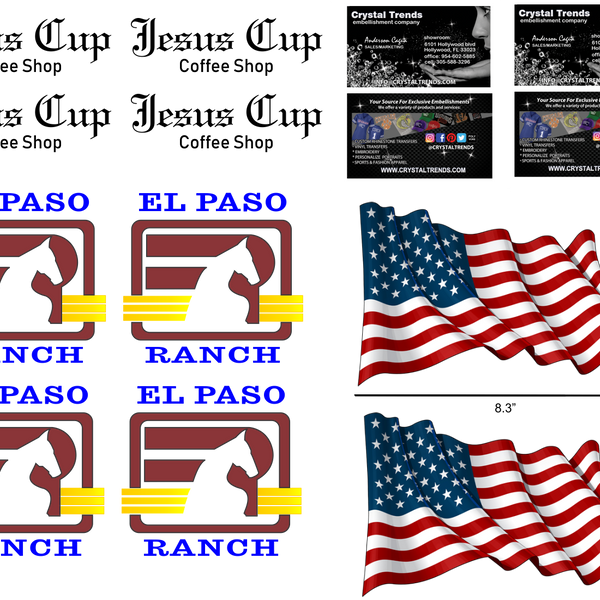
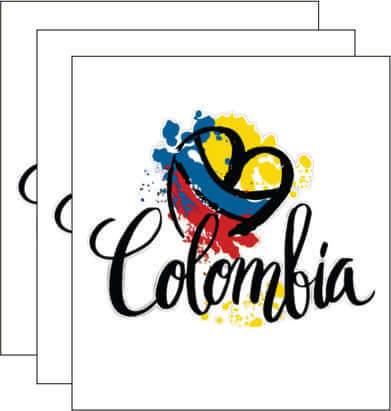
- Versatility in Design: Whether you want to create a simple logo or a complex graphic, DTF printing can handle it all. This versatility makes it an ideal choice for various projects, from fashion to promotional items.
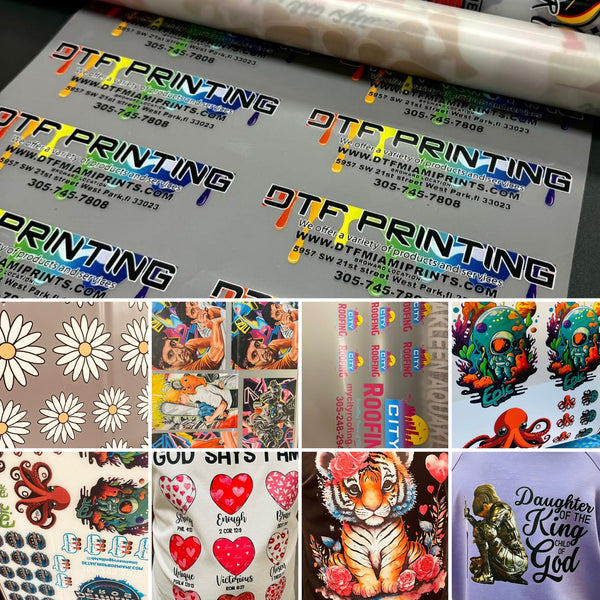
- High-Quality Prints: One of the standout benefits of custom DTF transfers is the quality of the prints. The colors are vibrant, and the details are sharp, making your designs look professional and appealing. The prints are also durable, ensuring they withstand regular use and washing.
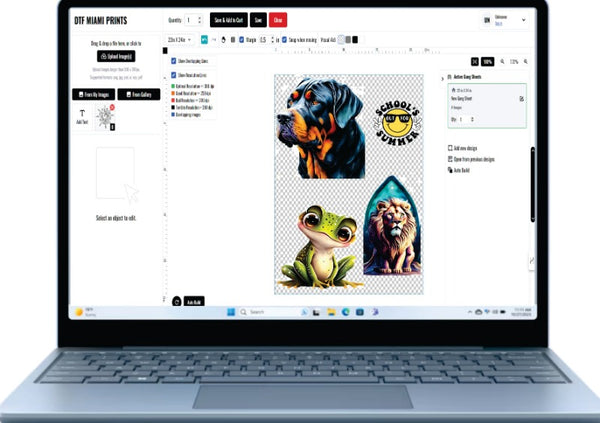
- Cost-Effective Solution: Custom DTF transfers are a cost-effective solution for both small and large projects. The ability to print multiple designs on a single sheet, also known as a custom DTF gang sheet, reduces material waste and lowers overall costs. This makes DTF transfers an excellent option for businesses looking to manage their budgets efficiently.
Applications of Custom DTF Transfers
- Fashion and Apparel: Custom DTF transfers are widely used in the fashion industry to create unique and personalized clothing. From t-shirts to hoodies, these transfers can add a creative touch to any garment.
- Promotional Items: Promotional items such as bags, hats, and accessories can be easily customized with DTF transfers. This makes them an excellent choice for businesses looking to promote their brand with unique and eye-catching merchandise.
- Personalized Gifts: Custom DTF transfers are perfect for creating personalized gifts. Whether it's a custom t-shirt for a birthday or a unique bag for a special occasion, DTF transfers allow you to add a personal touch to any gift. You can purchase custom DTF transfers ready to press from providers like DTF Miami Prints.
Conclusion
Custom DTF transfers are perfect for unique projects, offering a high-quality and personalized approach to your designs. By using custom DTF gang sheets, you can efficiently create multiple designs on a single sheet, saving time and reducing costs. To ensure the best results, make sure your fabric is clean and wrinkle-free before starting.
Follow these steps:
- Set the Heat Press: Adjust to 300-320°F (150-160°C) with medium pressure.
- Press Time: Press for 10 seconds initially.
- Peel the Film: Peel the film off while it’s still hot to reveal the vibrant design.
- Second Press: Press again for an additional 5 seconds to ensure durability.
By following these guidelines, you’ll achieve vibrant, long-lasting prints that make your unique projects stand out. Custom DTF transfers are a versatile and efficient solution for all your creative needs, whether for fashion, promotional items, or personalized gifts.
Frequently Asked Questions (FAQ) on Custom DTF Transfers
-
What is the ideal temperature for applying DTF transfers?
- Set the heat press to 300-320°F (150-160°C) for optimal results.
-
What pressure setting should I use for DTF transfers?
- Adjust the pressure to medium to ensure proper adhesion without damaging the fabric.
-
How long should I press the transfer initially?
- Press the transfer for 10 seconds initially.
-
When should I peel the film off the transfer?
- Peel the film off immediately after the initial press while it is still hot.
-
Is a second press necessary?
- Yes, after peeling the film, press the fabric again for an additional 5 seconds to ensure the transfer is fully adhered and to enhance durability.
-
Can DTF transfers be applied to any fabric?
- DTF transfers work best on cotton, polyester, and blends. Always test on a sample fabric first.
-
How do I prepare the fabric for DTF transfers?
- Ensure the fabric is clean and wrinkle-free before laying it flat on the heat press.
-
What type of protective sheet should I use?
- Use a heat-resistant protective sheet, such as parchment paper or a Teflon sheet, to cover the transfer during pressing.
-
How do I ensure vibrant colors in my DTF prints?
- Use high-quality inks and films, and ensure your design includes a white underbase for better color vibrancy on dark fabrics.
-
How should I care for garments with DTF transfers?
- Wash the garments inside out in cold water and avoid using bleach to prolong the print's life.
-